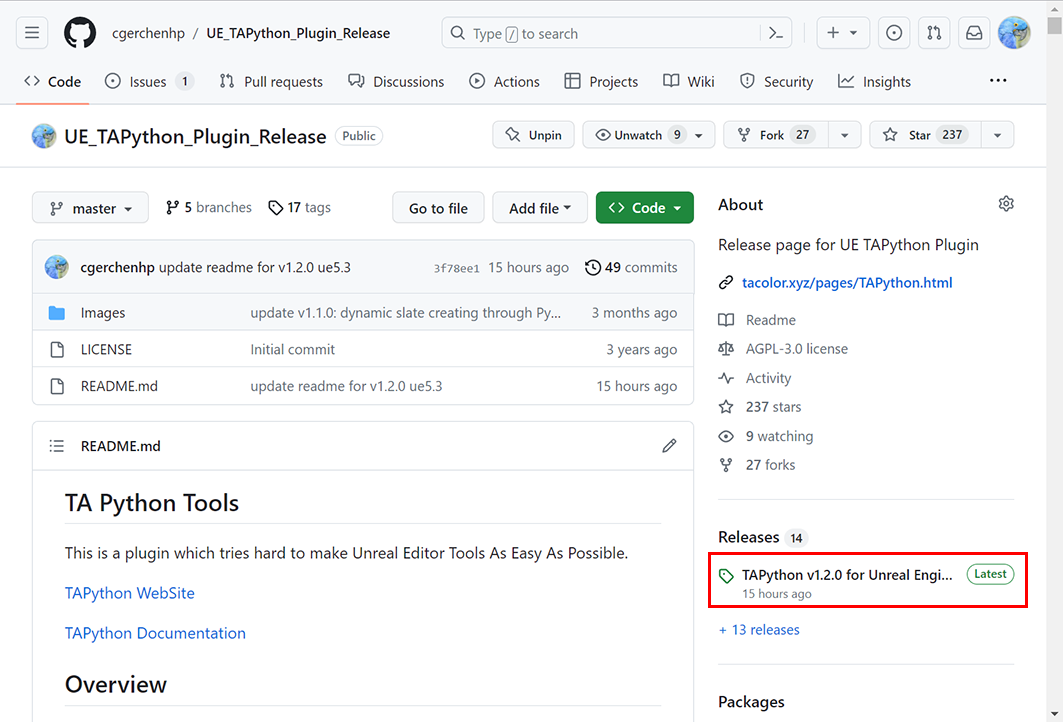
Download the latest precompiled version of the plugin from Github and start using it after a simple setup.
Dependencies
This plugin relies on Unreal Engine's built-in Python plugin:

UE official documentation Scripting the Editor using Python
Installation Steps
- Download the corresponding version of the plugin from TAPython release repo @github release repo @github on the right side of the release page.
- Unzip it to
<Your_UE_Project>\Pluginsdirectory.
Your_UE_Project
├── Content
├── ...
└── Plugins
    └── TAPython       # <--- Put the plugin here
        ├── Binaries
        ├── Config
        └── Content
        └─ ...
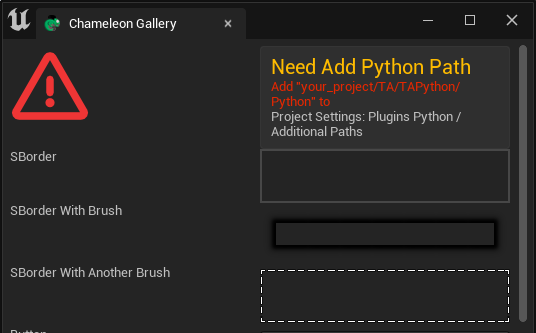
- Launch the project, open Project Settings - Plugins - Python - Additional Path, and add
<Your_UE_Project>/TA/TAPython/Pythonto the additional path. Restart the editor.
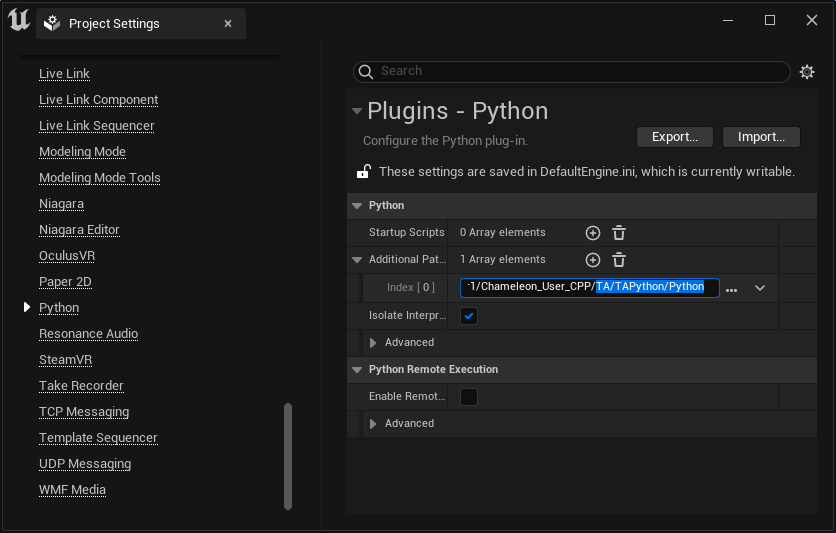
NOTE
After adding the path, you need to restart the editor.
Verify Installation
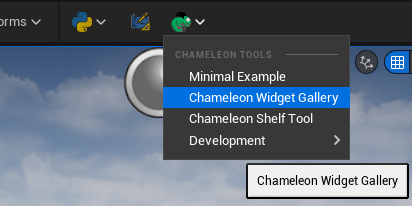
After the three icons shown in the image below appear on the main toolbar, click the green "Chameleon icon, and in the drop-down menu, click the "Sketch" tool.
Under the correct conditions, you should see the green sign in the image below and the words "Python Path Ready."
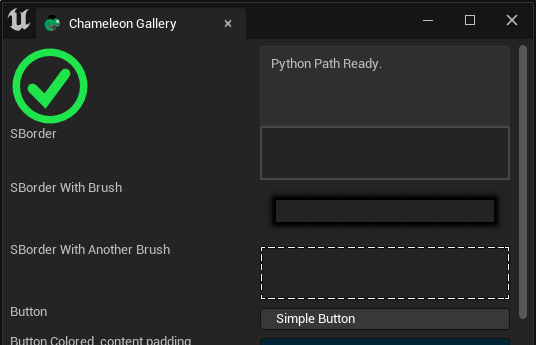
If you see a red cross, please check the additional path setting in the Project Settings above.
Extra
"How is the installation verification implemented?"
Open <Your_UE_Project>/TA/TAPython/Python/ChameleonGallery/ChameleonGallery.json, and you can see that we executed chameleon_gallery.mark_python_ready() at the end of the "InitPyCmd" field.
This function is in ChameleonGallery.py. If the Python path is set correctly, this function will be executed correctly; otherwise, it will not.
We use this function to hide the red error sign that would always be displayed by default through self.data.set_visibility, and at the same time display the green correct sign and modify the displayed text.