Summary: TAPython has several methods for set pixels of RenderTexture2D and SImage, so we can edit the SImage widget or RenderTarget2D in the editor with python code. 
and more...
The latest Version TAPython add several methods for set pixels of RenderTexture2D and SImage, so we can create some cool editor tools only with python.
[clouds video ][https://youtu.be/vlTsbGwdsvk]
The stable fluid simulation is powered by taichi-lang, which is an open-source, imperative, parallel programming language for high-performance numerical computation. It is embedded in Python and uses just-in-time (JIT) compiler frameworks, for example LLVM, to offload the compute-intensive Python code to the native GPU or CPU instructions.
Set pixels to SImage
set_image_data(...)
    x.set_image_data(aka_name, raw_data, width, height, channel_num=4, bgr=True) -> None
    Set SImage's Image content with Raw data.(R, G, B, A:uint8)

    Args:
        aka_name (Name): The aka name of the widget
        raw_data (Array(uint8)): The flatten raw data of image, len(RawDataIn) == Height * Width * ChannelNum
        width (int32): Width of Image.
        height (int32): Height of Image.
        channel_num (int32): Channel number of the RawData
        bgr (bool):
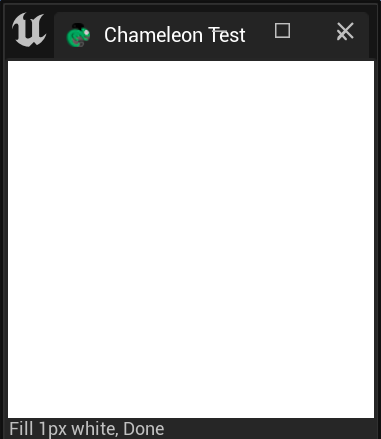
- Fill white Replace the SImage with a new 1 pixel white Simage
your_chameleon_tool.data.set_image_data("imageInUI", b'\xff', 1, 1, 1, False)
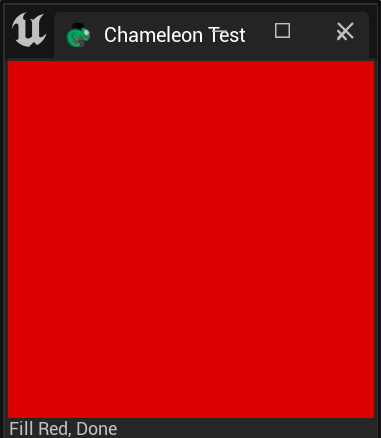
- Fill red
The default order of channel is BGR, so the red color will be: b'\x00\x00\xff'
your_chameleon_tool.data.set_image_data("imageInUI", b'\x00\x00\xff'
                                            , width=1
                                            , height=1
                                            , channel_num=3)
Set the parameter "bgr" to False if the channal order is RGB or RGBA
your_chameleon_tool.data.set_image_data("imageInUI", b'\xff\x00\x00'
                                            , width=1
                                            , height=1
                                            , channel_num=3
                                            , bgr=False)
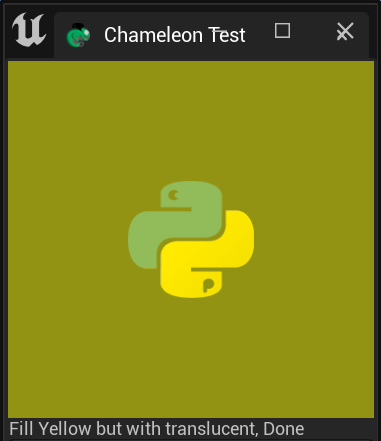
- Fill Yellow but with translucent. The python logo is background image.
your_chameleon_tool.data.set_image_data("imageInUI", b'\xff\xff\x00\x80'
                                , width=1
                                , height=1
                                , channel_num=4
                                , bgr=False)
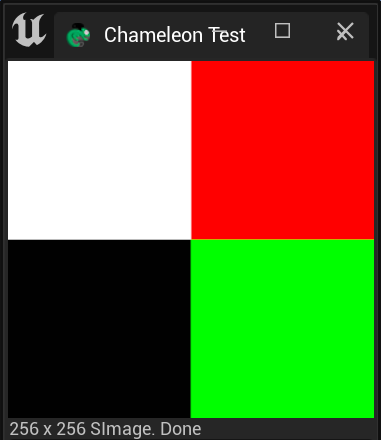
- Fill the RenderTarget with four pixels. The pixel order of the RawImage is Row First and the first pixel is in left corner.
raw_data  = b'\xff\xff\xff'  # white
raw_data += b'\x00\x00\x00'  # black
raw_data += b'\xff\x00\x00'  # red
raw_data += b'\x00\xff\x00'  # green

chameleon_test.data.set_image_data("imageInUI"
                                    , raw_data
                                    , width=2
                                    , height=2
                                    , channel_num=3
                                    , bgr=False)
so the four pixel SImage will be:
![]()
So blew code will generate a 128x128 SImage
import numpy as np

im = np.ones((256, 256, 3), dtype=np.uint8)
im[:128, :128, :] = (255, 255, 255)
im[:128, 128:, :] = (0, 0, 0)
im[:128, 128:, :] = (255, 0, 0)
im[128:, 128:, :] = (0, 255, 0)

image_bytes = im.data.tobytes()

chameleon_test.data.set_image_data("imageInUI"
                                    , image_bytes
                                    , 256, 256, 3
                                    , bgr=False)
Set pixels to RenderTarget2D with python
TAPython also adds a new lib: PythonTextureLib. We can use it for editor texture and renderTarget.
unreal.PythonTextureLib.set_render_target_data()
set_render_target_data(...) method of builtins.type instance
    X.set_render_target_data(render_target_texture, raw_data, raw_data_width, raw_data_height, raw_data_channel_num, use_srgb=False, texture_filter_value=-1, bgr=False) -> None
    Set the RenderTexture2D By Raw Data.
    note: The order of RawData is row first. Lower left corner is the first pixel, and upper right is the last
    note: added in v1.0.7

    Args:
        render_target_texture (TextureRenderTarget2D): The target RenderTarget2D
        raw_data (Array(uint8)): The flatten uint8 raw data of image, len(RawData) == RawDataWidth * RawDataHeight * RawDataChannelNum
        raw_data_width (int32): The width of the RawData, we can fill the rt with smaller RawData
        raw_data_height (int32): The Height of the RawData
        raw_data_channel_num (int32): The Number of RawData's Channel. 1: grayscale; 2: grayscale with alpha; 3: rgb; 4 rgb with alpha
        use_srgb (bool): Use SRGB or not
        texture_filter_value (int32): The filter of texture: 0: Nearest, 1: Bilinear, 2: Trilinear, Use setting from the Texture Group.
        bgr (bool): Is the order of RawData is Blue, Green, Red, otherwise RGB
Fill the RenderTarget with a solid color
The raw data size can be smaller then the target RenderTarget2D, so we can update the rt from python much easier and faster.
- Fill White
unreal.PythonTextureLib.set_render_target_data(your_rt
                                            , raw_data=b'\xff'
                                            , raw_data_width=1
                                            , raw_data_height=1
                                            , raw_data_channel_num=1)
- Fill Red, the channel order of RawData is RGB
unreal.PythonTextureLib.set_render_target_data(your_rt, b'\xff\x00\x00'
                                            , raw_data_width=1
                                            , raw_data_height=1
                                            , raw_data_channel_num=3)
- Fill Yellow but with translucent, the channel order of RawData is RGBA
unreal.PythonTextureLib.set_render_target_data(your_rt
                                            , raw_data=b'\xff\xff\x00\x80'
                                            , raw_data_width=1
                                            , raw_data_height=1
                                            , raw_data_channel_num=4)
- Fill the RenderTarget with four pixels. The pixel order of the RawImage is Row First and from lower left corner, which is different with SImage.
raw_data  = b'\xff\xff\xff'  # white
raw_data += b'\x00\x00\x00'  # black
raw_data += b'\xff\x00\x00'  # red
raw_data += b'\x00\xff\x00'  # green

unreal.PythonTextureLib.set_render_target_data(your_rt
                                            , raw_data=raw_data
                                            , raw_data_width=2
                                            , raw_data_height=2
                                            , raw_data_channel_num=3
                                            ,  use_srgb=False)
![]()
- Fill the RenderTarget without any filter, will get a image with hard edge, just like below image.
raw_data = b'\xff\xff\xff\x00\x00\x00\xff\x00\x00\x00\xff\x00'  # same data as example above
unreal.PythonTextureLib.set_render_target_data(syour_rt
                                            , raw_data=raw_data
                                            , raw_data_width=2
                                            , raw_data_height=2
                                            , raw_data_channel_num=3
                                            , use_srgb=False
                                            , texture_filter_value=0)
![]()
- Use the parameter:
bgrif rawData order is BlueGreenRed
raw_data = b'\xff\xff\xff\x00\x00\x00\xff\x00\x00\x00\xff\x00'
unreal.PythonTextureLib.set_render_target_data(your_rt
                                                , raw_data=raw_data
                                                , raw_data_width=2
                                                , raw_data_height=2
                                                , raw_data_channel_num=3
                                                , use_srgb=False
                                                , texture_filter_value=0
                                                , bgr=True)
![]()
- Generate the RawData with numpy, or get the RawData from other 3rd package taichigraphic
import numpy as np

im = np.ones((256, 256, 3), dtype=np.uint8)
for i in range(256):
    im[i, :, 0] = i
image_bytes = im.data.tobytes()

unreal.PythonTextureLib.set_render_target_data(your_rt, image_bytes, 256, 256, 3
                                                , use_srgb=False
                                                , texture_filter_value=0)

- fill the RenderTarget with a checkerboard, the im's shape can be (height, width) without channel.
import numpy as np

width = height = 256
im = np.zeros((height, width), dtype=np.uint8)
for y in range(height):
    for x in range(width):
        im[y, x] = 255 if x % 2 == y % 2 else 0

unreal.PythonTextureLib.set_render_target_data(your_rt, im.data.tobytes(), width, height, 1
                                               , use_srgb=False
                                               , texture_filter_value=0)
![]()
Tips
- Use One channel RawData, if your just need a greyscale image
- Two channels RawData, will be a greyscale image with alpha channel.
Different Between Set pixels to SImage and RenderTarget2D
PythonTextureLib.set_render_target_data chameleon_data.set_image_data
| Type | RawData's PixelOrder | RawData's Channel Order | bBGR Default value | Has Filter | |
|---|---|---|---|---|---|
| RT | Row first, Lower Left if the first pixel | RGB | False | Yes | |
| SImage | Row first, Upper Left if the first pixel | BGR | True | No |
With ChameleonData.set_image_data and PythonTextureLib and set_render_target_data, we can edit both the image on the UI and the RenderTarget, and we can make the below tool possible.
The stable fluid simulation is powered by taichi-lang.
The Demo Unreal 5 project is here: